
Back to the Dragon with the new stuff from 2012!
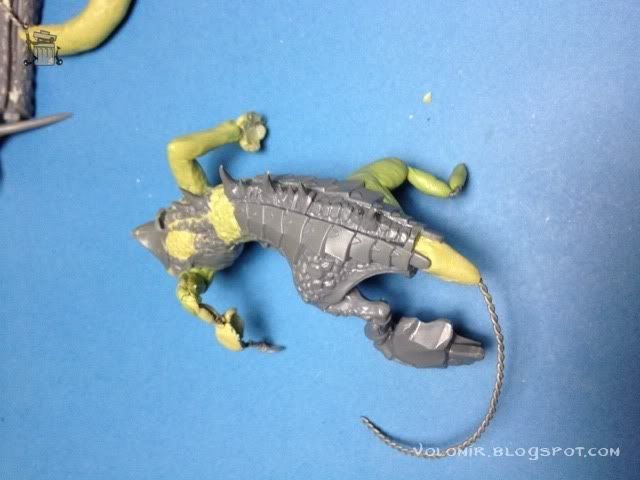
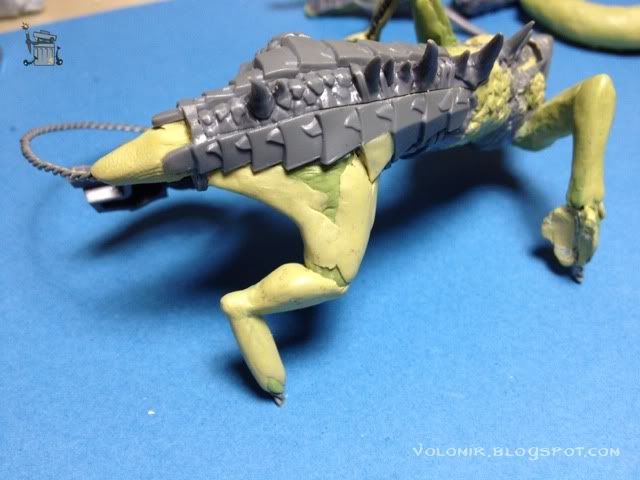
Now I decide to glue the left leg to the body. I am definitely going to use this one in the kit.
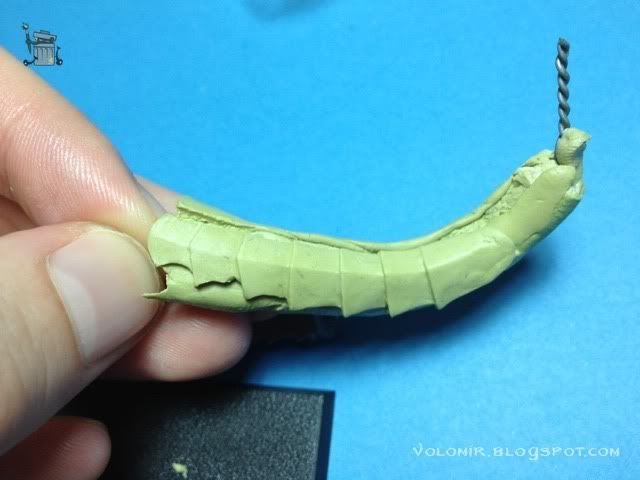
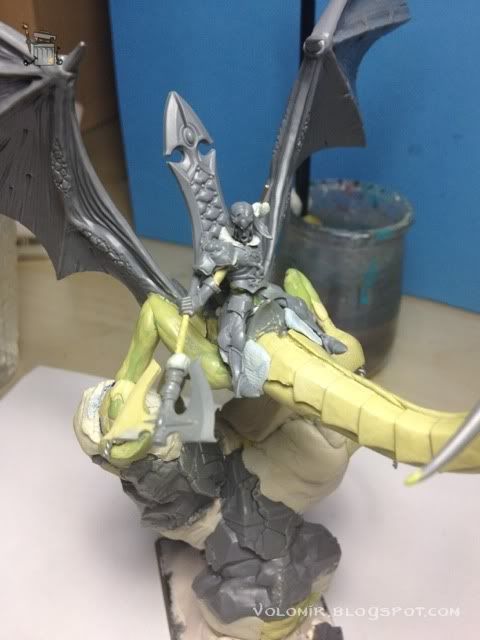
And I continue with the modelling of the armour parts in the neck. It's a slow process, but working with Milliput to do this is perfect because I can cut and shape the plates once the putty is cured, to make the surface smoother and sharpen the edges.
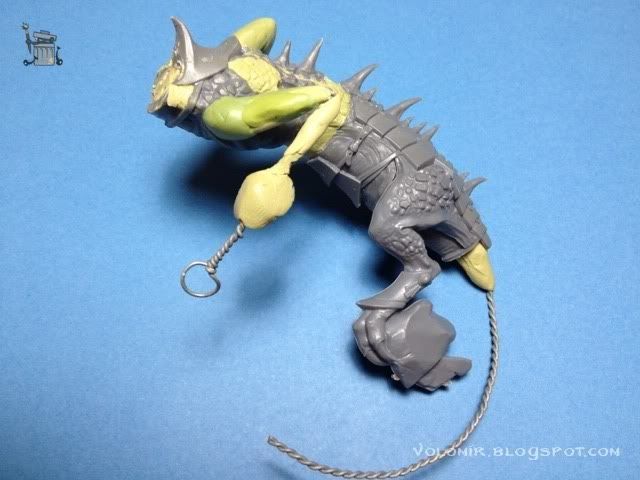
I also start the right leg, some wire and then bits of putty to create the first volumes, to see how it looks like. Now the piece really starts looking like a lizard!
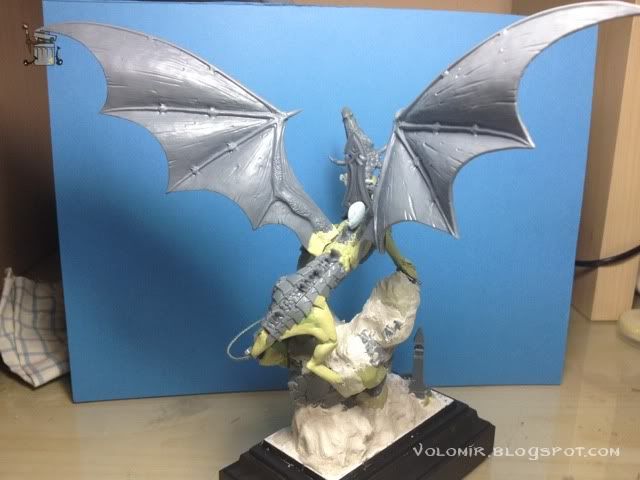
As I said it's been 18 months, so it wouldn't do harm to see the overall look of the miniature again. I can't find the old head I used for the rider so I'll use another one, from the High Elves kits(my god, they are so bad, there is no way I'm going to use this head, this is just to see how it looks like).
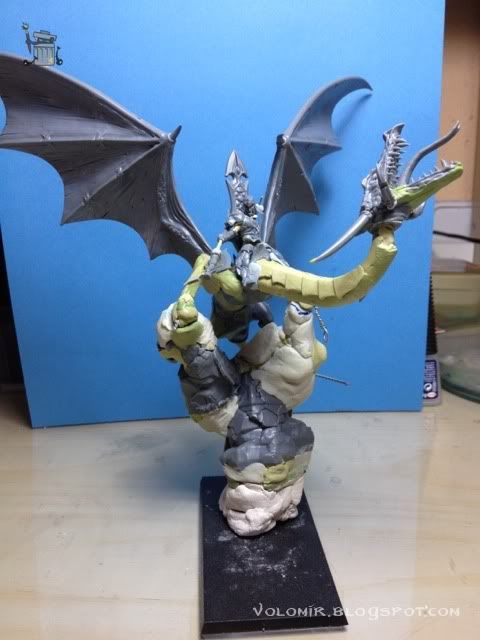
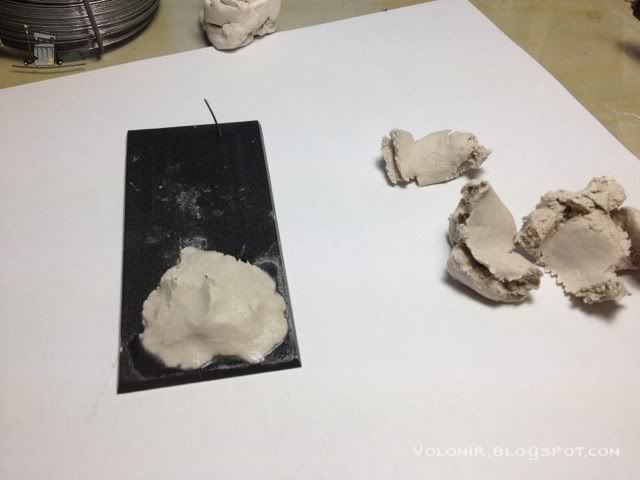
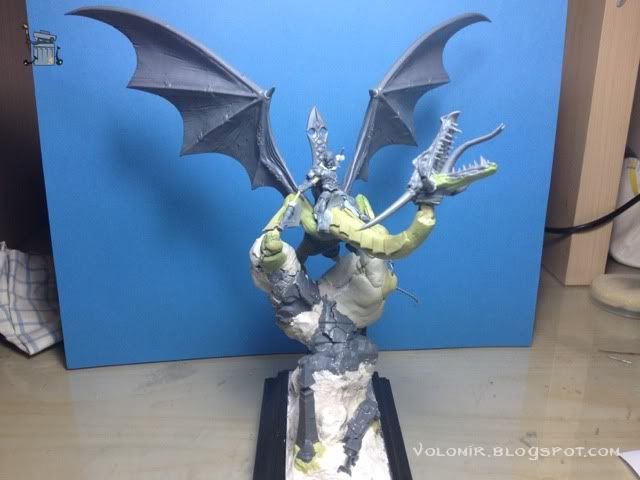
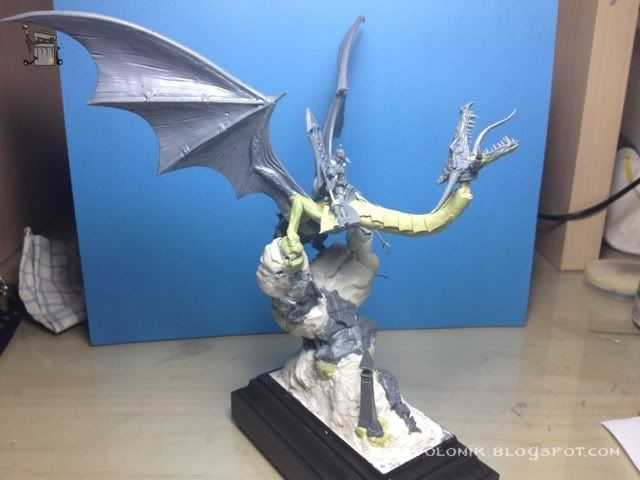
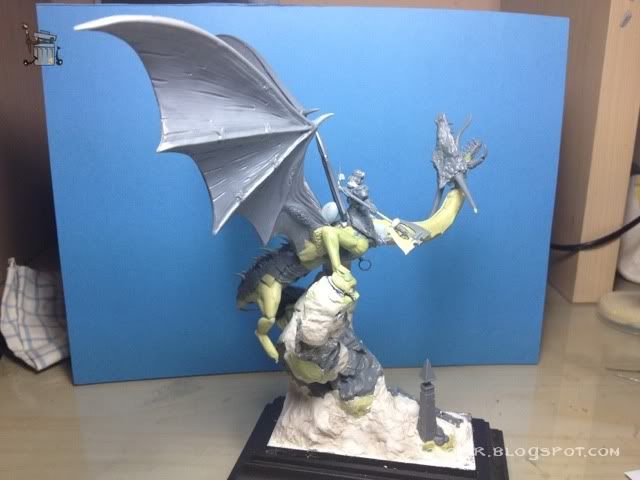
Notice how the base is getting higher and higher. The idea is to place the dragon in some rocks in the sea shore, to make some wave effects just like the ones I did for Tribute to the Fallen, just this time it's going to be bigger and much more epic. So, I'm going to bring the rock up! Let's do some work on the base, with DAS putty.

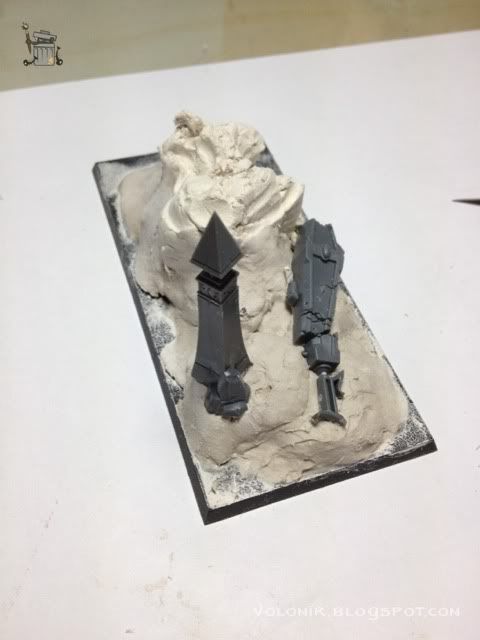
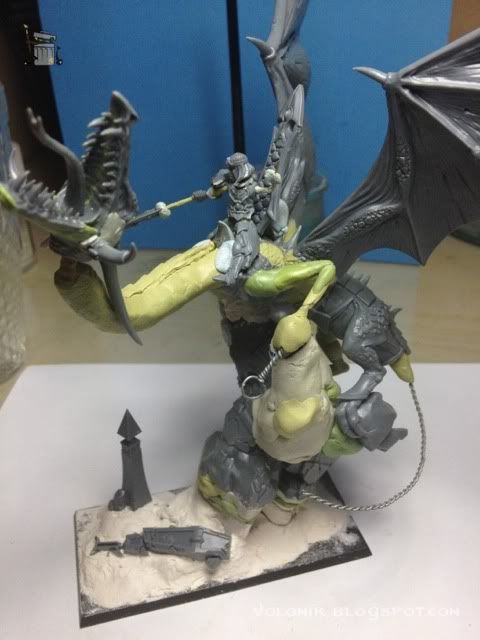
Introducing some Elven materials from the Dragon kit, stuff the elves want on their sea shores of Ulthuan.
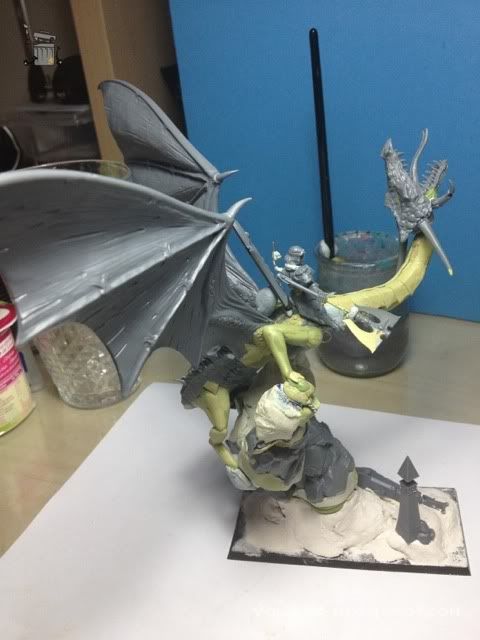
The position of the rock is key in this case, it's going to force the main view of the miniature, and I want it to capture the strength of the idea. The rider pulling from the reins, the dragon opening his jaws, the lizard climbing on the rock, the waves, the wings spreading all over the frame... so I need to spin the rock around a little bit so the neck of the dragon is in a diagonal direction to the base and the rider with the axe breaks that diagonal to the other side, always avoiding any parallel line, may that be to the ground, to the base or to any other object.
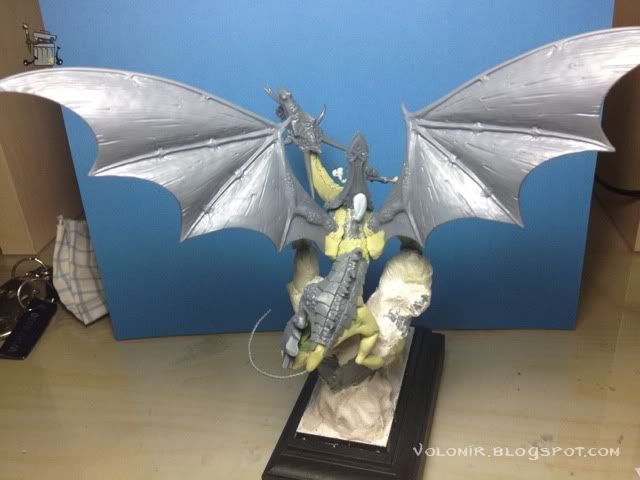
Let's see some shots of the different views of the piece so far. Notice the addition of the horns in the sides of the head. The reins will be attached to the beginning of those horns.
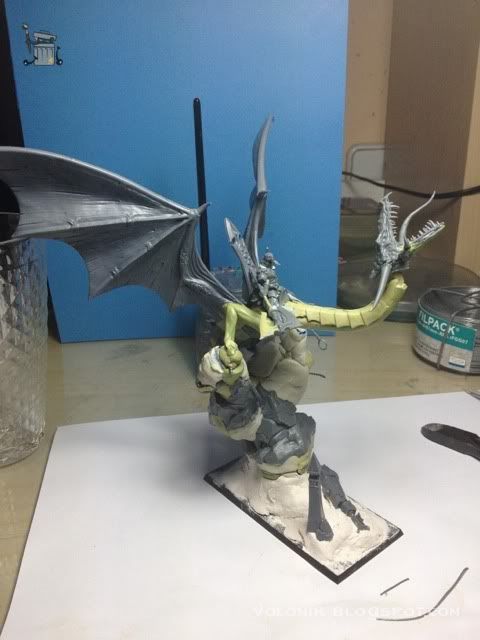

DAS putty can be tricky, it's cheap and useful but it has trouble sticking to surfaces, so I have to seal gaps with Milliput, to make sure that the whole base does not create any cracks or separates from the plastic base.
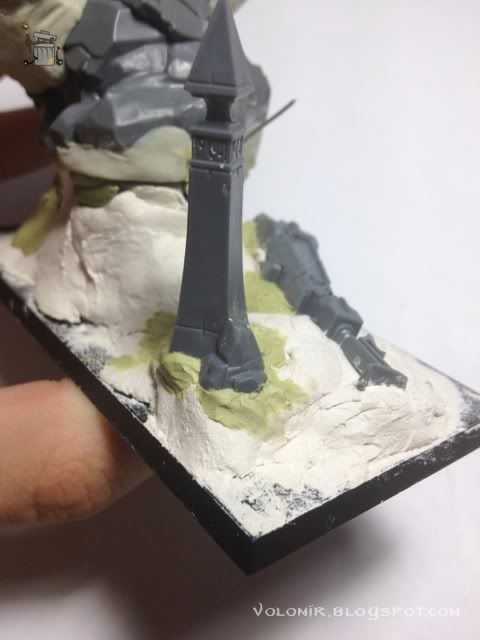
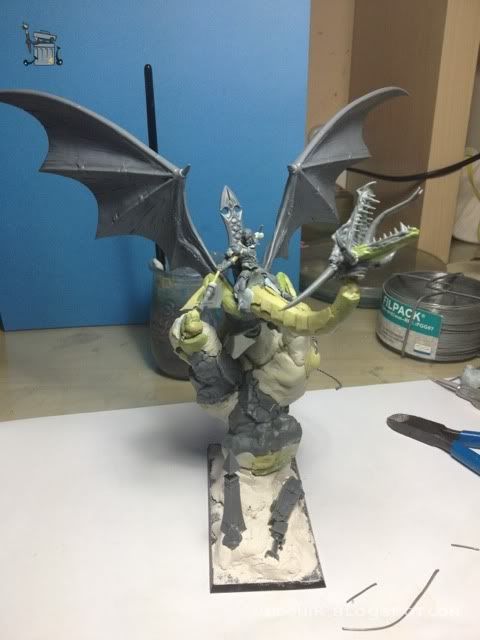
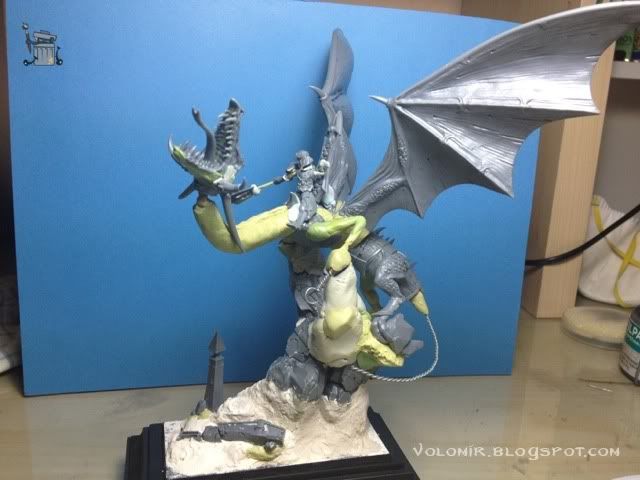
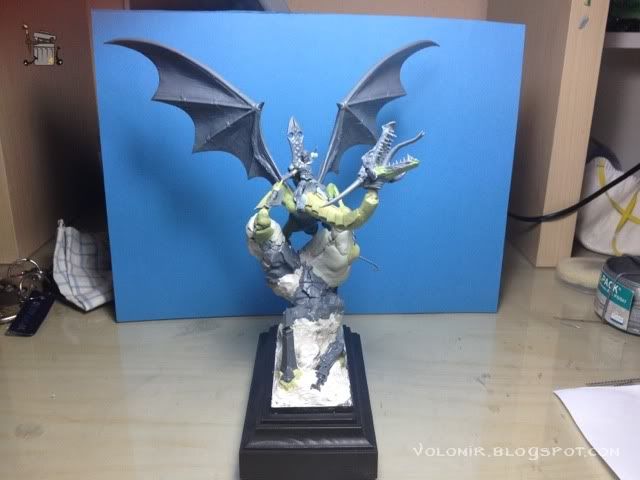
And now some more shots, with the brand new addition of the advanced terrain and the showcase plinth! This is moving forward!
Good looking!
Continue to WIP: High Elf Dragonlord Part 4
3 comments:
Whoa!!! This is so sexy! I cant wait to see it done!
I'm really enjoyed to see a progress of this project. It's very inspiring and eager to see more :)
Cheers,
It must be so nice to be able to sculpt AND paint like a pro :D Awesome stuff!
Post a Comment